In our last post, we shared the first half of a migration checklist to help you move from v1 to v2.
Now it’s time for the last three steps in the checklist:
In this post, we’ll walk you through how we solved the most difficult parts of the app’s migration to v2: converting a custom component and resolving issues with resource sharing (if you don’t quite get what we mean, read on and we’ll explain below).
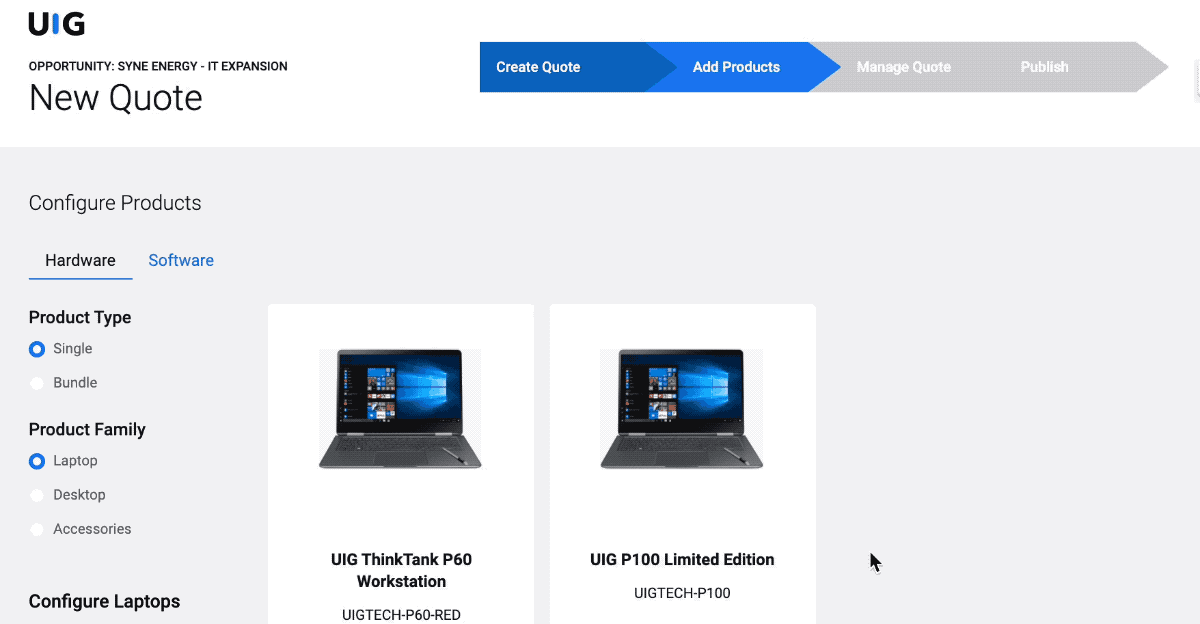
The example is a configure, price, and quote (CPQ) app that has a main page and three included pages. In part 1, we created a design system for our new app and converted the pages to v2 using the migration utility tool. After that, we did styling adjustments to make sure the newly converted pages looked good.
Migrating JavaScript snippets
Fortunately, the JavaScript snippets were mostly about iterating through a model and calculating a total amount, so they worked seamlessly in the converted v2 pages.
If you’re struggling on any part of this step, see our Skuid and JavaScript docs for general information or our API reference for more details.
Converting a custom component
In the app, we have a custom component called Progress Indicator. This is a popular custom component among Skuid builders as it shows progress when users walk through a step-by-step form or wizard. For our v2 page, we were able to re-create the Progress Indicator bar using:
- a Wrapper component.
- style variants for the arrow effect.
- a UI-only model.
The setup is a little complicated, but it’s fully declarative. You may find it possible to recreate your custom components declaratively as well since the v2 component library is a lot more comprehensive and robust than the v1 component library.

If you do need to build a custom component in v2, here are a few things to note:
- Custom components are not yet widely available to the public. So, contact your Skuid account executive for access.
- Because v2 component architecture is completely different from v1 components, there’s more effort required to learn how v2 components work and how to build your own.
If you want to learn more about the way v2’s UI is built, take a look at our UI code docs. If you need to create a custom field renderer, refer to this doc for more information.
Resolving issues with resource sharing and Page Include components
While it’s not on the checklist, we had a page design issue neededed to address: resource sharing. This happens when you have models or JavaScript snippets in one page and you reference or use them in another page that’s open in the same session.
This is appropriate if you reference resources of a master page in a child page because a master page’s models or JavaScript snippets are shared with its child page. However, pages included through Page Include components don’t have that built-in resource sharing mechanism. So, in order to “hack” resource sharing, you reference models or JavaScript snippets in the XML. This used to work in v1 pages, and that’s what we did in our CPQ app.
In our defense, we wanted our app to be modular and not one mega-screen, massive page that would be a nightmare to maintain—not to mention avoiding the XML tree depth issue that occurs with one huge page. But this behavior was never officially supported since it could just as easily break pages. As is often the case with unsupported solutions, we needed to pay off that technical debt since the “hack” was fixed in v2.
V2 pages are sandboxed, meaning that besides master/child pages, included pages can no longer reference resources in the page they’re included in, or vice versa. So, even if we hardcode the names of the models or snippets in the XML, I’ll get an error saying that the resources I’m referencing don’t exist.
For migrating our CPQ app pages from v1 to v2, this was the trickiest issue to overcome. But there is a solution! Instead of using the resource sharing method that’s not advisable, we was able to use Publishing Events and Subscribing to Events in order to send model data from one page to another. Here’s the setup:
- In the parent page, we have an Action Sequence that subscribes to an event called “addProductToQuote.” In the Inputs tab, we add an Input with a type of “Model.” This way, when the event is published from the Page Include and the model is sent over, we can use the model data in our JavaScript snippet with “{{params.$Input.model}}” as a source model.
This action sequence waits to hear for any updates from the included pages, and it will activate as long as the event is published with the right name.
Screenshots showing subscribing to event and its corresponding code snippet - In the included page, where users click a button that creates a new row in the model in the parent page, we replaced the “resource sharing” action with a JavaScript snippet that publishes the “addProductToQuote” event, along with the model data from the included page.
A screenshot showing the code snippet for the publishing event in the included page


In other words, we have an action that publishes a Skuid event whenever the user adds a product. When it fires, the parent page receives the product data, as well as which model to update, since its event-triggered action sequence is listening for the event we published.
So, when the user adds a product (which fires off an event), the parent page responds to that event and updates the right data, all without resource sharing!
You can find all the instructions and examples from these detailed docs on Skuid events:
-
Publishing events in the Action Framework
Responding to event-triggered action sequences
Working with Skuid events in JavaScript
Here’s the result of the v2 solution using a Skuid event that replaces the resource sharing issue.
Deploying your updates
Once you’ve arrived here, give yourself a huge high five because you did a great job!
All that’s left to do is deploy your pages. we don’t have much to cover here, except that you can follow the same path you used to deploy the v1 pages for v2 whether you’re deploying in Classic Salesforce or Lightning. In this aspect, there are no differences between the two page API versions.
we hope you’ve enjoyed this two part series on how to migrate your multi-page app from v1 to v2 and that it’s helped you. From our experience, it’s not a small undertaking to convert a complex Skuid app to v2 and it will require time and effort. But in the end, it’s totally worth it to take advantage of all the cool features Skuid has to offer.
For your convenience, here’s a round-up of the reference materials we covered in parts 1 and 2: